Building a DIY Flow Hood – Mark 2
After a long wait we finally got the time to plan and build the second generation Laminar Flow Hood. We’ve been wanting to get this up and running as a necessary prerequisite of more advanced microbiology and molecular biology experiments. Keeping your cells separate from all the bugs floating around the air is really important!
We started with the components from Mark 1, including the calculations which we double checked and left unchanged.
There’s a soft seal on one side of the filter which we left on the output side.
This is one of the only weak points we can think of in the design as we couldn’t leverage it to help seal round the top of the plastic walls as they sit inside the legs supporting the filter box:
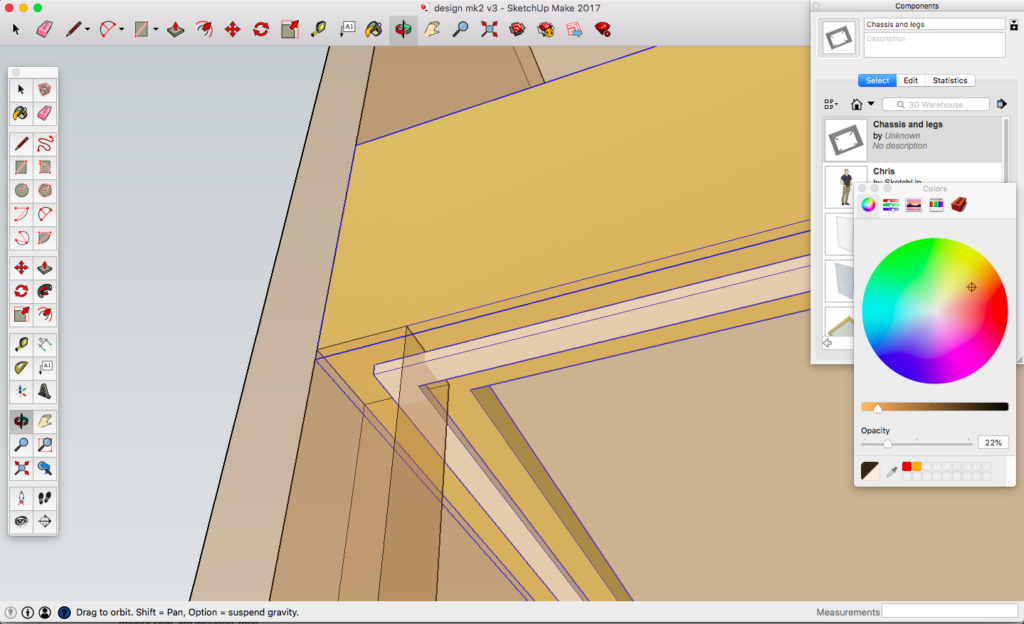
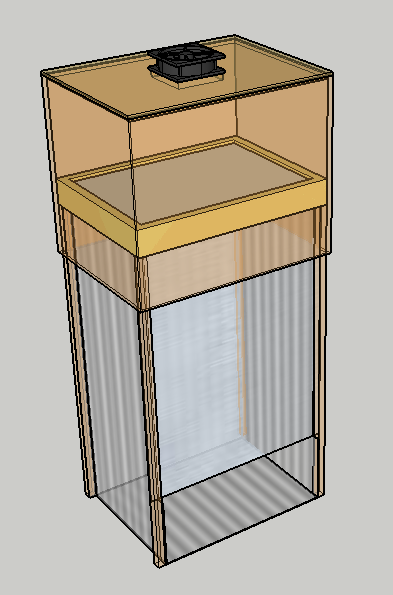
The “final” design is shown below. Notable additions or changes upon implementation:
- We used M5 bolts to go through the legs, polycarbonate panels and fibreboard top box.
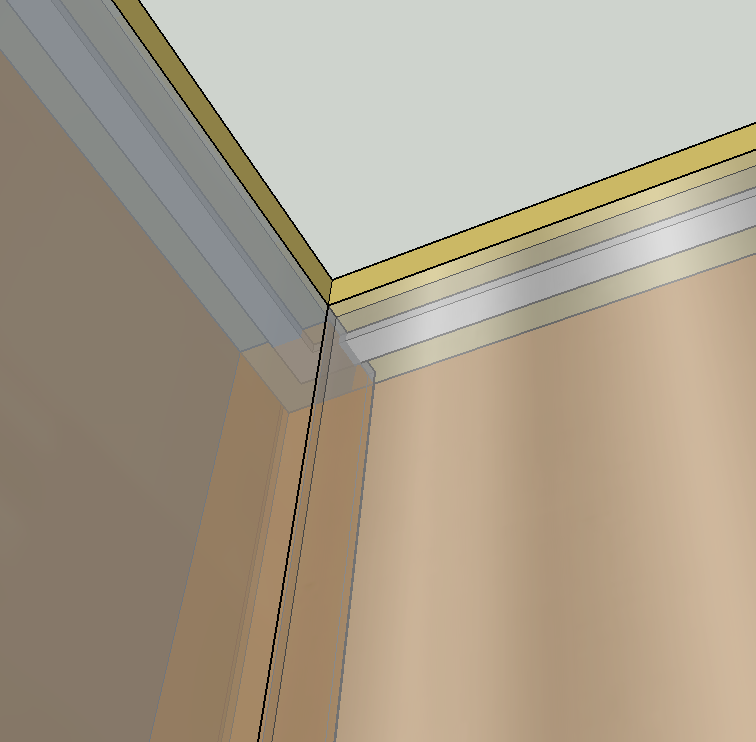
- To allow the filter box to be inserted into the top box we spaced the top box panels away from the legs using 1mm spacers on all sides. This worked well: allowing us to put one edge of the filter box into the top box before lowering the other edge into place. With the side plastic walls in place it would be very hard to lower it down in one go.
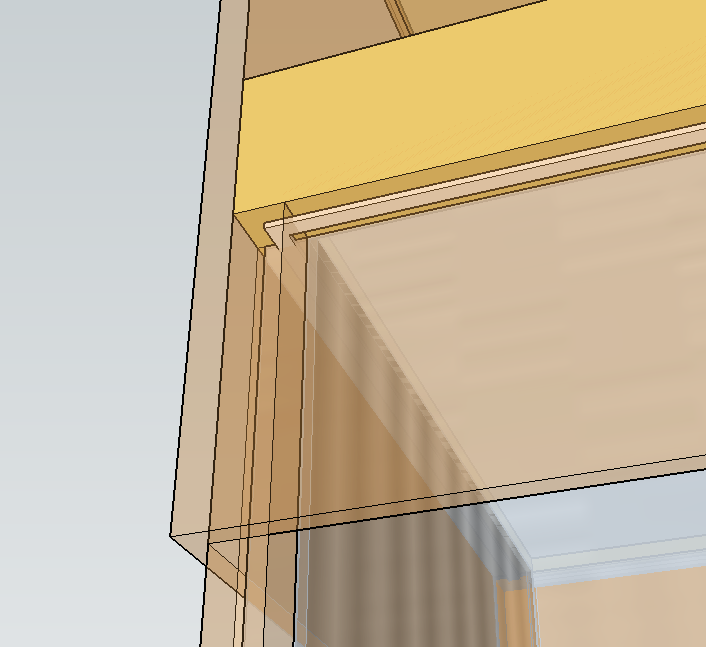
- The front and back panels extended further to the sides to accommodate wooden battens towards the top which helped secure the top of the large box panels together. The was done as originally the structural strength of the large box was going to come from the snug fit around the filter box towards the base.
- The top panel was originally going to be formed from a flat piece of wood with a wood batten running round the inside edge to push against the top of the large box walls. The walls would be squeezed into this batten by fabled duct tape. With the wooden battens moved to the side panels the top panel was instead cut from 5 layers of corrugated cardboard and duck tape used to both attach them to the top of the top box and to stop the air flowing down their internal corrugations.
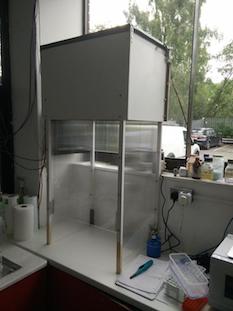
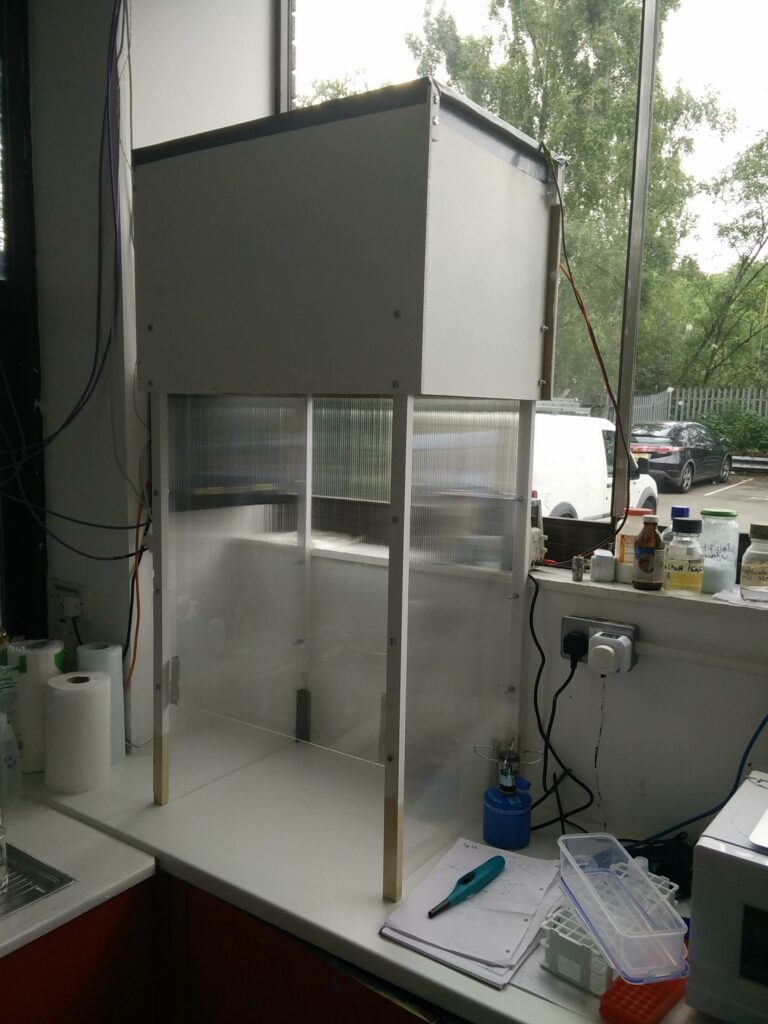
The final result
Testing
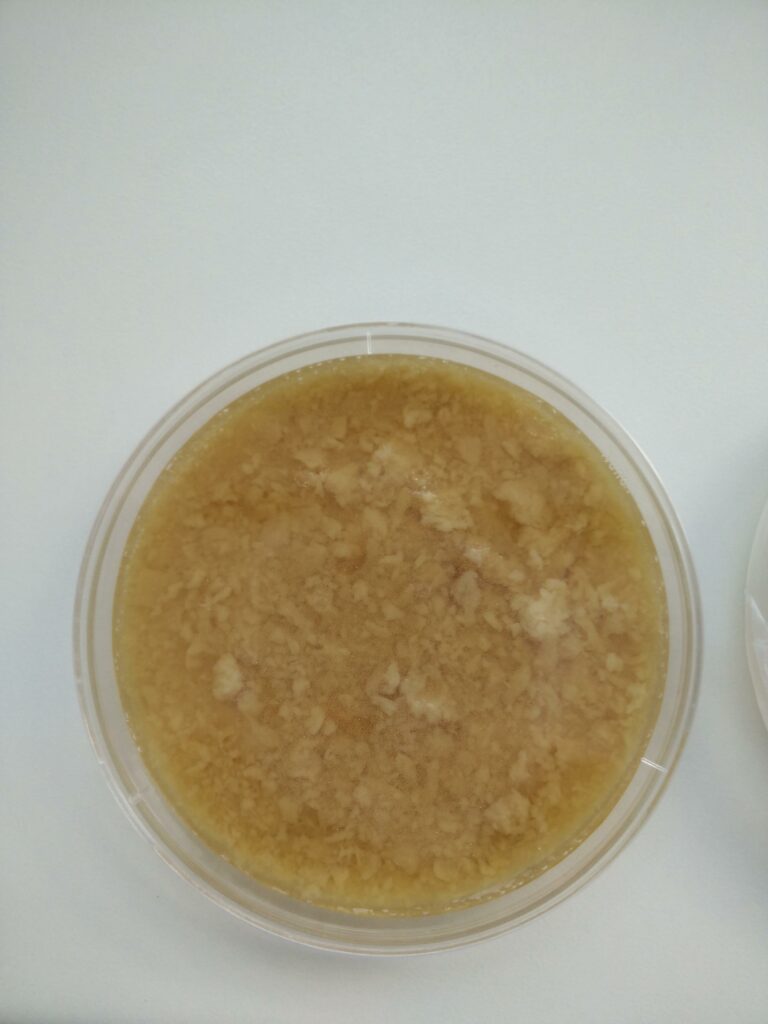
Attempt 4 of recreating the mythical lactose-yeast extract media also failed when the milk proteins precipitated. We decided to pour 4 petri dishes anyway and test the new (by then not so new) laminar flow hood. We did this whilst the hood was running and followed good aseptic technique: sprayed down the surfaces and everything going into the hood with 70% IPA, kept items in the middle of the hood, had the hood away from other sources of air flow like open windows, open doors, others moving around the lab. We left all 4 petri dishes exposed inside the hood to cool down for 10 minutes. We then left 2 exposed inside the laminar flow hood and then took 2 of them around the HackSpace for a little walk.
After a few days we checked the petri dishes again and got the following very welcome result on one of the sterile plates: No growth!
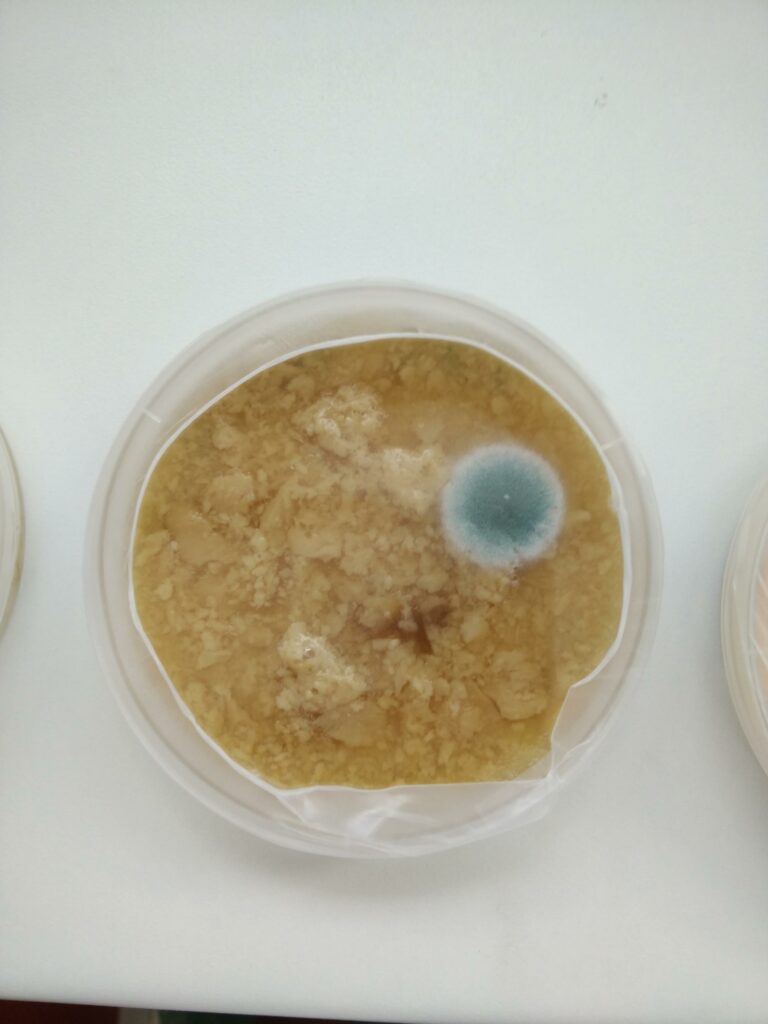
The metal workshop developed a single colony:
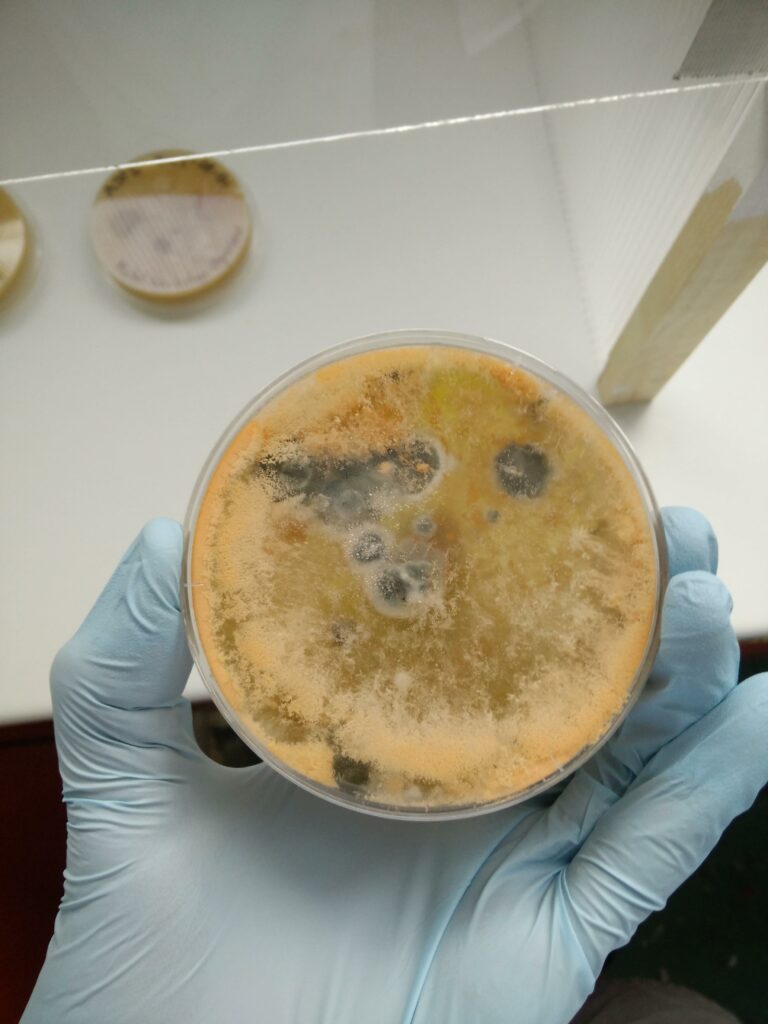
And the wood workshop petri dish went thoroughly berzerk. The bright orange mould hyphae had actually escaped from the edges of the petri dish…
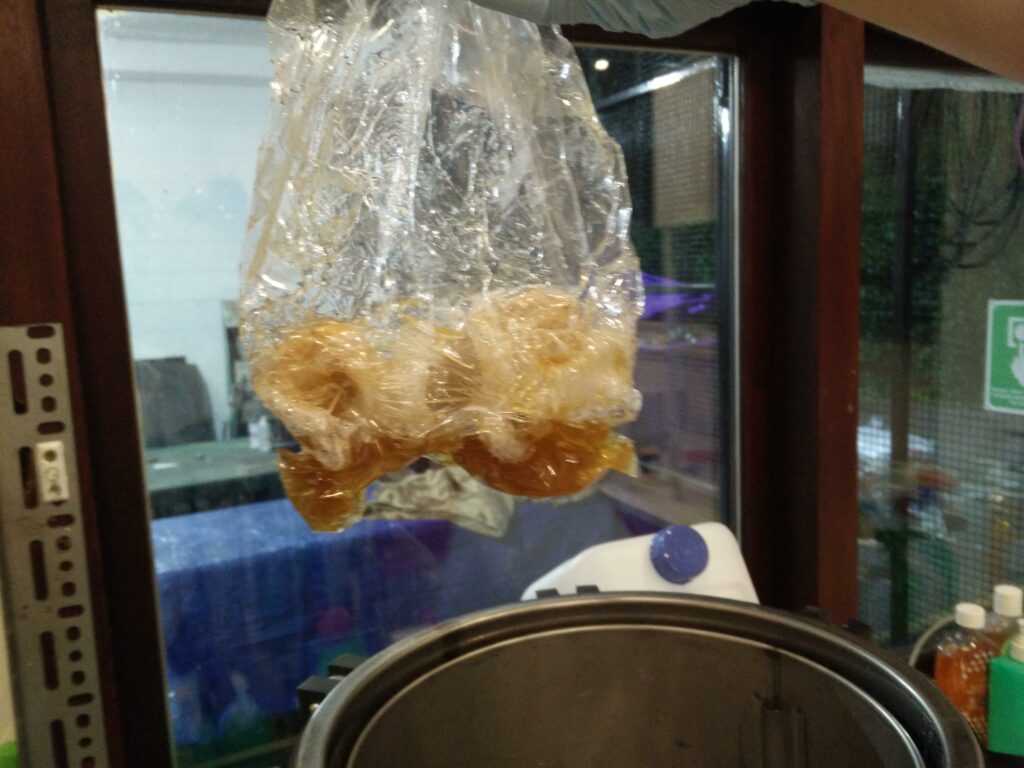
To make the lab safe again we cooked the petri dishes in some turkey roasting bags inside the pressure cooker.
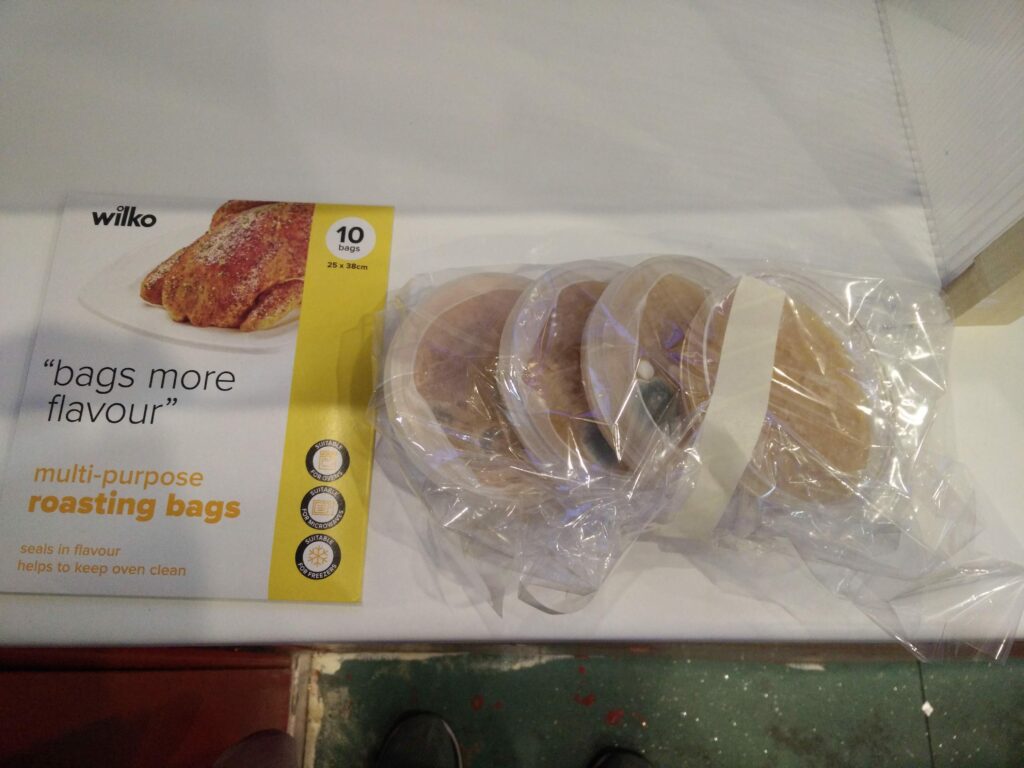
… it had been on our todo list to try these out and they worked great!


Awesome design. May I request the blueprints for the flow hood?
Hi Peter, sorry for the delay. I don’t have any accurate measurements as it was built as quickly as possible: so we designed the general idea in the CAD package (SketchUp in this case) and then measured parts in place before cutting them. This resulted in the legs actually not being interchangeable with each other as the holes etc were drilled in slightly different places.
In general we used Acrylic 1.2 m x 1.2 m (x 3? mm) sheet cut down to about 1 m x the width of the HEPA filter box. And the lower walls were from a Polycarbonate Twinwall 3 m x 1 m (x 6? mm) sheet. The upper walls from 8? mm thick high density chipboard. Table saw was very useful for getting square straight edges.
Hope that helps.
Hey there,
What filter do you use?
Hi! The details are in the first article: https://biohackspace.org/2014/07/building-a-diy-flow-hood/ “Ultima MPW78 18×24 for £100” which also links to the filter supplier’s page but that now gives a 404.